Estimated reading time: 11 minutes
Key Takeaways
- Organizing screenshots with clear file names is crucial for easy retrieval later.
- Labeling screenshots taken on mobile devices helps maintain context for reviews.
- The article includes links to resources on AI tool management and reviews.
- The point is not to make the review look more technical. The point is to help the reader see what actually happened, so they do not have to take my word for it.
Review mindset
“In God we trust. All others must bring data.”
Often attributed to W. Edwards Deming
For AI tool reviews, screenshots are part of that data. They give you something real to look back at instead of relying on memory or first impressions.
AI Tool Review Workflow
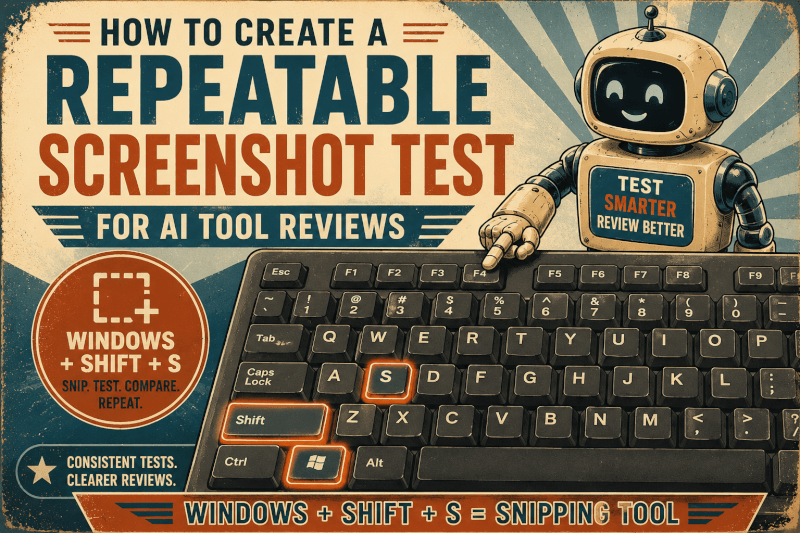
How to Create a Repeatable Screenshot Test for AI Tool Reviews
A good AI tool review should not depend on memory. With a repeatable screenshot test, you get visual proof of what happened, which settings you used, what the tool created, and where it struggled.
Why screenshots matter in AI reviews
When I review an AI tool, screenshots help me give better information to ChatGPT or whichever model I am using to organize the review. Memory gets fuzzy fast, even when I think I will remember the details. A screenshot gives me something concrete to look at later.
Quick screenshot options
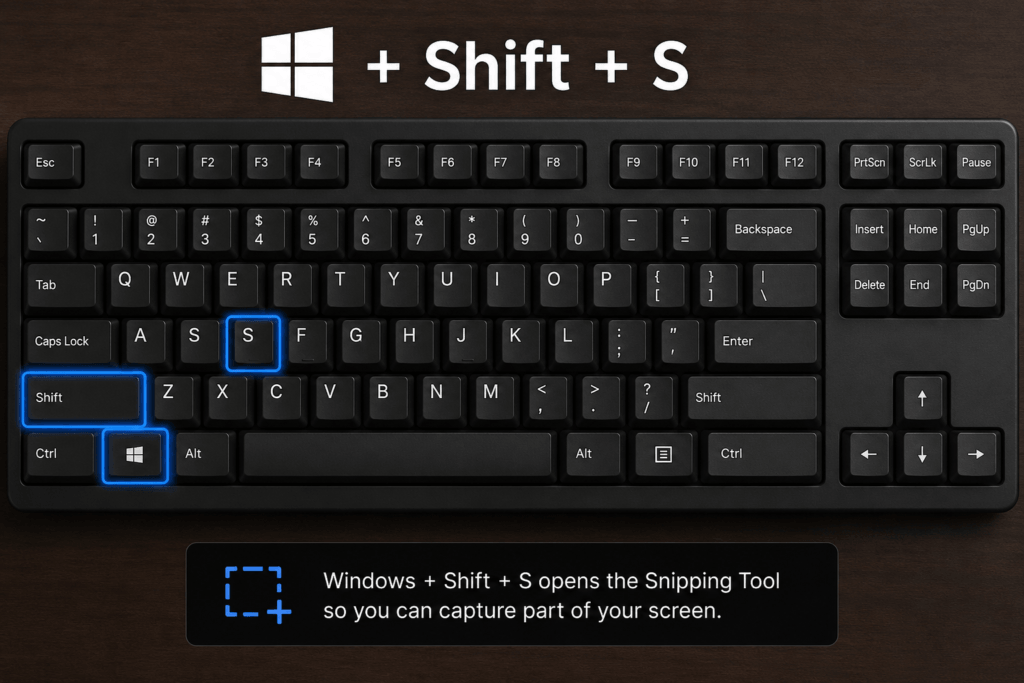
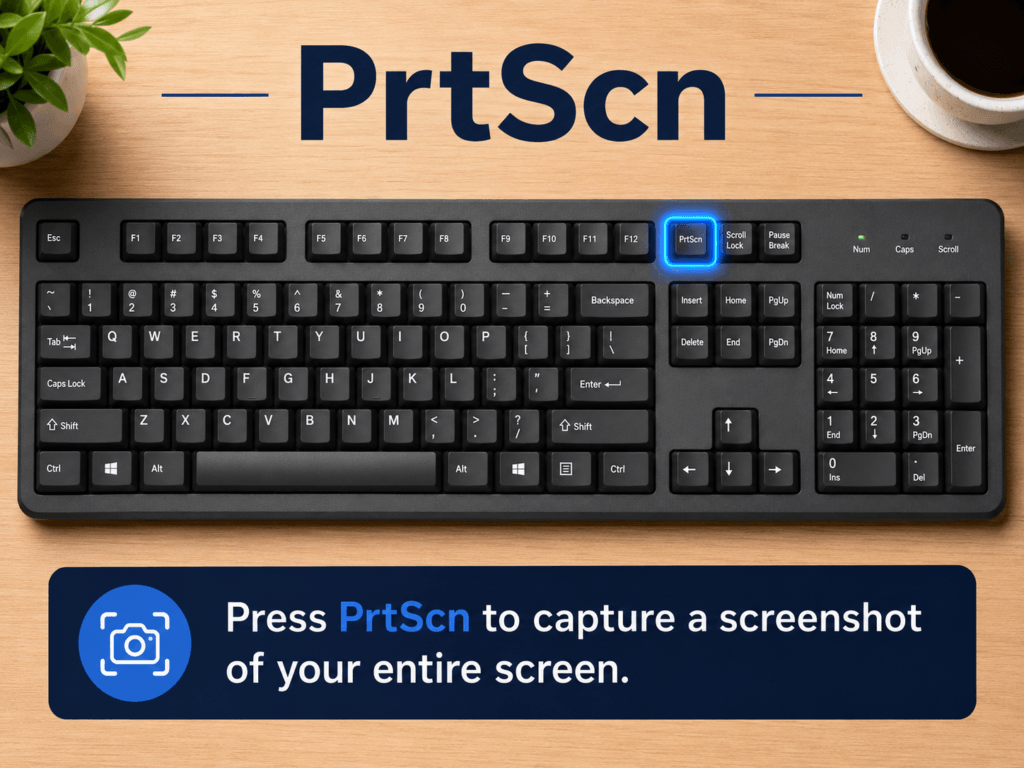
On Windows, Windows + Shift + S is one quick way to grab part of the screen with the Snipping Tool. Depending on your keyboard and settings, Print Screen can also work well. When I test on my phone, I can use phone screenshots, AirPlay, screen mirroring, or another transfer method to get important visuals onto my computer.
The problem with random screenshots
The exact screenshot method matters less than the habit. Random screenshots are the real problem because they are hard to compare across tools. One review might have a prompt screenshot, another might only show the final result, and a third might miss the settings that explain why the output looked different.
A better approach is to run the same small screenshot test every time.
The three things every screenshot test should capture
Capture the task
Save the starting prompt, upload, brief, or task you gave the AI tool.
Capture the settings
Grab the model, mode, quality level, style, aspect ratio, privacy option, or other important setup choices.
Capture the result
Save the output, errors, weird behavior, final export, or anything readers would need to see for themselves.
The goal is not to collect dozens of screenshots. Instead, you want the same evidence every time so your reviews are easier to verify, explain, compare, and update later.
I also try to label screenshots when I am testing from my phone instead of my desktop. Some AI tools feel different on mobile, and a phone screenshot without context can confuse me later when I am writing the review.
Example Screenshot Evidence
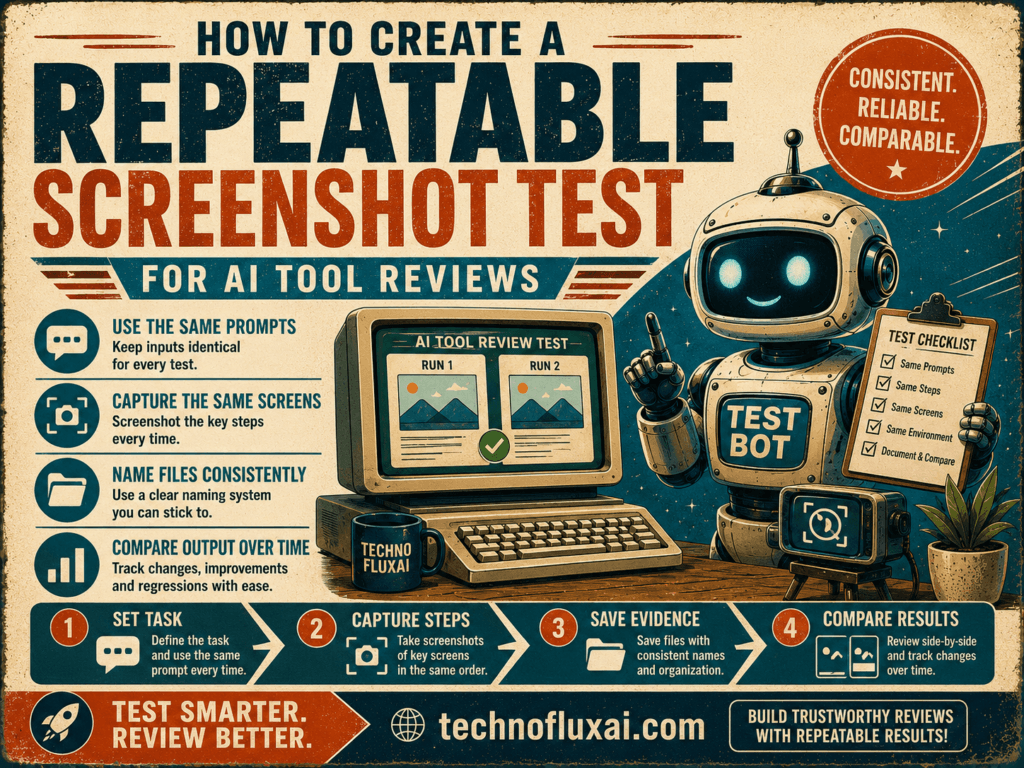
The messy part is that screenshots pile up fast. I have had folders full of random image names where I knew the evidence was in there somewhere, but finding it later was annoying. That is why the file names matter almost as much as the screenshots.
Two easy screenshot shortcuts to document
The Simple Screenshot Test I Would Use for Every AI Review
A screenshot test does not have to be complicated. In fact, it works better when it is simple enough that you will actually do it every time. If the process feels like homework, you will skip it. If it is too loose, the screenshots will not help much when you come back later.
For most AI tool reviews, you can use a five-screenshot system. The point is not to capture everything. The point is to capture the same kind of proof each time, so your reviews are easier to compare and update.
Screenshot 1: The starting prompt or task
For this screenshot, capture what you actually asked the tool to do. That could be your prompt, an uploaded file, an image input, a form field, or the project brief before the AI starts working. This gives you a clean starting point if you need to explain the test later.
Screenshot 2: The settings
This is the screenshot people often forget, but it matters a lot. You can capture the model, quality mode, style setting, aspect ratio, output length, credits used, privacy option, or anything else that could change the result. If one tool is tested on a fast setting and another is tested on a high-quality setting, the comparison may not be fair.
Screenshot 3: The first output
For this screenshot, save the first result before you clean it up, regenerate it, or work around the mistakes. This is usually one of the most honest screenshots in the review because it shows what the tool gave you before you started fixing things.
Screenshot 4: Anything that went wrong
You can also screenshot the messy parts. Errors, weird formatting, bad hands, hallucinated facts, missing exports, failed uploads, confusing pricing screens, and frozen progress bars are all useful review evidence. Do not only save the good parts, because the problems are often what readers need to know about most.
Screenshot 5: The final result
For the final screenshot, capture the result a reader would actually care about. That might be the final image, video, proposal, chatbot answer, spreadsheet, article draft, automation run, export file, or dashboard result. This is the screenshot that shows where the test ended.
Use Consistent File Names So Future You Does Not Hate Present You
Screenshots are only useful if you can find them later. A folder full of files named “Screenshot 2026-09-01” is better than nothing, but it gets messy fast once you are testing multiple tools.
You can keep it simple with a naming pattern like this:
        toolname-testname-01-prompt.png

        toolname-testname-02-settings.png

        toolname-testname-03-first-output.png

        toolname-testname-04-error-or-issue.png

        toolname-testname-05-final-result.png
For example, if you were testing an AI image generator, your folder might look like this:
        polioai-avatar-test-01-prompt.png

        polioai-avatar-test-02-settings.png

        polioai-avatar-test-03-first-output.png

        polioai-avatar-test-04-hand-issue.png

        polioai-avatar-test-05-final-result.png
The names do not have to be perfect. They just need to be clear enough that you can come back later, compare tools side by side, and understand what each screenshot is supposed to prove.
Add a Short Note With Each Screenshot Set
Screenshots show what happened, but notes explain why it mattered. You do not need a long report. A short note is usually enough.
Simple review note template
Tool tested:
Date tested:
Plan or version:
Prompt/task:
Settings used:
What worked:
What failed or felt confusing:
Would I trust this result without editing?
That last question is the one I would not skip. A tool can look impressive in a polished demo and still need a lot of cleanup in real use. Your screenshots and notes help readers see that difference without you having to rely on vague impressions later.
What to Screenshot for Different Types of AI Tools
The five-screenshot system works for most reviews, but different AI tools need slightly different evidence. A chatbot review is not the same as an image generator review, and an automation tool is not the same as a writing assistant.
AI writing tools
Save the prompt, tone settings, first draft, factual issues, editing options, and final usable draft.
AI image tools
Document the prompt, style settings, first generation, visible mistakes, upscaling options, and final image.
AI video tools
Grab the prompt, source image or script, motion settings, processing screen, failed frames, and final clip.
AI automation tools
Record the trigger, workflow steps, connected apps, test run, error messages, and successful output.
Mistakes to Avoid
Only saving the best result
Readers do not get a fair picture of the tool if you only show the best output after five retries. Save the first result too.
Forgetting the settings
Settings can completely change the outcome. Without them, it is harder to repeat the test or explain why another person got different results.
Mixing phone, desktop, and web screenshots without notes
Mobile and desktop versions of the same tool can behave differently. Label it when you test from your phone. Also note when you use AirPlay or screen mirroring.
Letting screenshots replace judgment
Screenshots are evidence, not the whole review. You still need to explain what the result means, who the tool is good for, and where it falls short.
A Repeatable Screenshot Test Makes Reviews More Human
That might sound backward because screenshots feel technical. In practice, they make a review more human by keeping the article grounded in what really happened.
Instead of writing, “the tool was easy to use,” you can show the setup screen. When the output has problems, you can show the bad result instead of vaguely describing it. If a new version claims to be better, you can compare this month’s screenshots against the old ones.
This is especially useful for AI content because tools change fast. A review that was accurate six months ago may not be accurate today. With a visual testing record, updating the article becomes much easier.
Final Takeaway
A repeatable screenshot test does not need to be complicated. Capture the prompt, settings, first output, problems, and final result. Then save everything with consistent names and add a short note. Over time, that simple habit gives your AI reviews more proof, more clarity, and more value for readers.
Quick FAQ
How many screenshots should I take for an AI tool review?
Start with five: the task, the settings, the first output, anything that went wrong, and the final result. Add more only when they help explain the review.
Should I include every screenshot in the published article?
No. Save more than you publish. Use the screenshots that help the reader understand the tool, and keep the rest as your private review evidence.
Do screenshots make AI reviews better for SEO?
They can help, but not because screenshots are a trick. Screenshots support a more useful, original, people-first review. The real value is showing evidence that your article was built from actual testing and judgment.
TechnofluxAI Review Habit
Before publishing an AI tool review, open your screenshot folder and ask one simple question: could someone understand what I tested, what happened, and why I reached this conclusion? If the answer is no, capture the missing evidence before the review goes live.